
A pristine showroom-worthy exterior finish is not only a matter of aesthetics but also a testament to a vehicle owner’s dedication to maintaining its value and longevity. The gleaming surface not only captures attention but also protects the car from harmful elements, such as UV rays, oxidation, and environmental contaminants. This ultimate guide delves into expert tips and advanced techniques to achieve and preserve the elusive showroom shine.
From meticulous washing and paint correction to advanced polishing and waxing, this guide covers the step-by-step process to restore a car’s paintwork to its original luster. Insider tips from detailing professionals will be shared, including product recommendations and time-saving approaches. With a blend of passion and skill, anyone can elevate their car’s appearance and maintain a showroom shine that turns heads and retains its value over time. Embrace the challenge of exterior detailing and unlock the secrets to a show-stopping finish that will make any car owner proud.
Preparing for Exterior Detailing
A. Gathering the right tools and materials:
To achieve a showroom shine, start by gathering the essential tools and materials. These may include a high-quality car wash solution, microfiber wash mitts, soft-bristle brushes, a pressure washer, clay bar, various polishing pads, an orbital buffer, and a range of microfiber towels. Having the right tools at hand will ensure that you can tackle every step of the detailing process efficiently.
B. Choosing quality products for paint correction and polishing:
Investing in quality products is crucial for achieving a showroom shine. Look for reputable brands that offer paint correction compounds, polishes, and waxes specifically designed for automotive use. These products will help remove scratches, swirl marks, and oxidation, and enhance the paint’s gloss and depth. Always read product labels and choose ones suitable for your vehicle’s paint type and condition.
C. Assessing the current condition of the vehicle’s exterior:
Before diving into the detailing process, carefully assess the condition of the vehicle’s exterior. Look for any scratches, paint chips, or dents that may require additional attention. By identifying these issues in advance, you can plan the necessary steps and allocate more time for specific areas that need extra care. It’s also important to note the condition of the paint, as heavily damaged or faded paint may require professional assistance to restore its shine.
Paint Correction Techniques
A. Understanding paint imperfections (swirl marks, scratches, etc.):
To achieve a showroom shine, it’s crucial to understand common paint imperfections like swirl marks and scratches. Swirl marks are fine circular scratches caused by improper washing techniques or abrasive materials. Scratches can result from various sources. Identifying these imperfections helps in choosing the right products and techniques for effective paint correction.
B. Properly washing and drying the vehicle:
The foundation of paint correction is a proper washing and drying routine. Use a high-quality, pH-balanced car shampoo and a soft wash mitt to avoid adding more imperfections. After washing, carefully dry the vehicle with a microfiber towel or a blower to prevent water spots and reduce the risk of scratching the paint.
C. Decontaminating the paint surface (clay barring):
Clay barring is essential for removing bonded contaminants like industrial fallout, tree sap, and stubborn dirt from the paint. Before applying any polishes or compounds, clay barring ensures a smooth surface. Lubricate the paint with a detailing spray and gently glide the clay bar to pull out impurities, leaving the paint surface ready for correction.
D. Using advanced techniques for paint correction (wet sanding, dual-action polisher):
When dealing with severe imperfections like deep scratches or oxidation, advanced paint correction methods come into play. Wet sanding involves using fine-grit sandpaper with lubrication to level the surface carefully. The dual-action polisher, equipped with specialized pads and compounds, further refines the paint’s appearance. However, caution is crucial, as these techniques require skill and experience to prevent damage to the clear coat and paint layers.
E. Importance of working panel by panel for precision:
To achieve a flawless showroom shine, focusing on one panel at a time is essential. This approach ensures meticulous attention to detail and prevents uneven correction. Working methodically allows for better control over the correction process, enabling the technician to monitor progress and avoid overworking any area. It’s a time-consuming process, but the precision obtained by working panel by panel is well worth the effort.
F. Checking for areas that require special attention (edges, crevices):
During paint correction, it’s vital to inspect carefully for challenging areas such as edges and crevices. These regions tend to accumulate dirt, debris, and defects that standard techniques might miss. Using smaller pads and tools with the appropriate products helps access these hard-to-reach spots effectively. Giving these areas special attention ensures a consistent shine across the entire vehicle, leaving no blemishes behind and providing a truly immaculate result.
Polishing for a Showroom Finish
Polishing is a crucial step in achieving that coveted showroom shine for your vehicle’s exterior. It helps to remove imperfections, enhance gloss, and create a smooth, flawless surface. Here, we’ll delve into the different types of polishes, polishing pads, and when to use them to achieve the best results.
A. Different Types of Polishes and Their Purposes:
Cutting Polish: This type of polish is more aggressive and is used to eliminate deep scratches, oxidation, and severe paint imperfections. It contains abrasive particles that level the paint surface, but it may leave behind hazing or swirl marks.
Finishing Polish: A finishing polish has finer abrasive particles designed to refine the surface after using a cutting polish or to address minor defects like light swirl marks and hazing. It brings out the ultimate shine in your paint.
Refining Polish: This polish is even less abrasive than finishing polish and is used primarily to enhance the gloss and clarity of the paint. It doesn’t remove defects but helps to perfect the finish.
B. Choosing the Right Polishing Pads for Specific Paint Correction Needs:
Selecting the appropriate polishing pads is essential as they work in conjunction with the polish to achieve the desired results.
Cutting Pads: These pads are usually made of a dense, coarse foam and are used with cutting polishes to remove severe defects. They provide the necessary friction to level imperfections effectively.
Finishing Pads: Finishing pads are made of softer, less dense foam, and they are ideal for use with finishing and refining polishes. They help to create a high-gloss, swirl-free finish.
All-in-One Pads: Some polishing pads are versatile and can handle both cutting and finishing tasks. They can be a good option for moderate paint correction needs.
C. Understanding the Various Levels of Polish and When to Use Them:
The choice of polish level depends on the condition of your vehicle’s paint and the level of correction required.
Heavy Correction: When your car’s paint has deep scratches, severe swirl marks, and heavy oxidation, start with a cutting polish and a cutting pad. This aggressive combination will level the imperfections, but you’ll need to follow up with a finishing or refining polish to achieve a flawless finish.
Moderate Correction: For paint with moderate swirl marks and light scratches, begin with a less aggressive combination of cutting polish and pad, or you can opt for an all-in-one pad. After that, use a finishing polish with a finishing pad to refine the surface.
Light Correction/Enhancement: If your paint is relatively new or in good condition with only minor imperfections, you can skip the cutting step altogether. Start with a finishing polish and pad, or a refining polish if you prefer, to enhance the gloss and clarity.
Remember to work in small sections, use appropriate technique, and maintain a consistent pressure while polishing. Always do a test spot before starting the full process to determine the right combination of polish and pad for your specific vehicle’s paint. With proper care and attention, your vehicle’s exterior will boast a showroom shine that turns heads wherever you go.
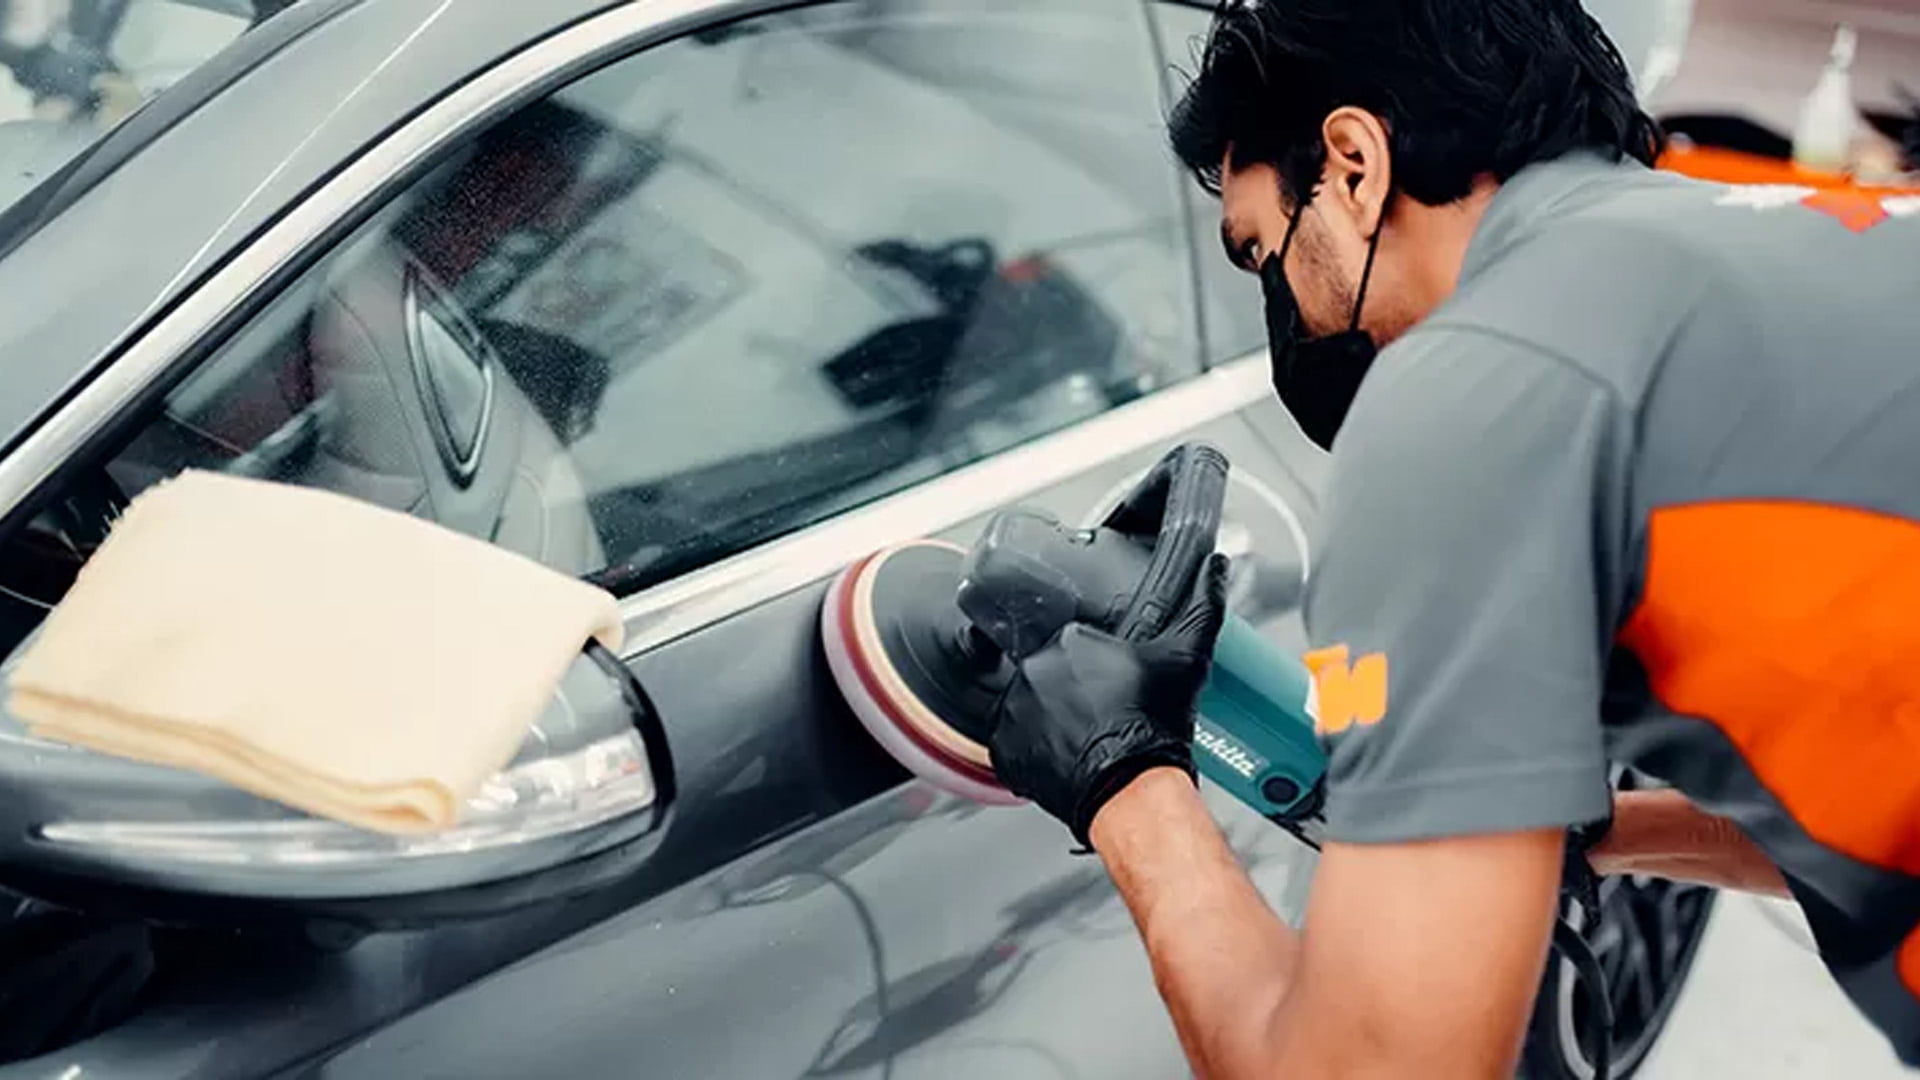
D. Step-by-step polishing process for optimal results:
Step 1: Wash the Vehicle Thoroughly
Before starting the polishing process, ensure the vehicle is clean from any dirt, dust, or debris. Use a gentle car shampoo and a microfiber wash mitt to avoid scratching the paint surface. Rinse off the soap residue completely and dry the car with a soft microfiber towel.
Step 2: Clay Bar Treatment
After washing, use a clay bar to remove any remaining contaminants bonded to the paint. Spray a lubricant on the surface and gently glide the clay bar back and forth. This will help achieve a smooth surface and improve the effectiveness of the polishing process.
Step 3: Assess the Paint Condition
Examine the paint to determine its condition. If there are heavy swirl marks, scratches, or oxidation, you may need a more aggressive polishing compound. For minor imperfections, a fine polish will be sufficient.
Step 4: Choose the Right Polishing Compound
Select a high-quality polishing compound suitable for your vehicle’s paint and the level of imperfections. Read the manufacturer’s instructions carefully, and if you’re unsure, seek advice from automotive experts or professionals.
Step 5: Test in an Inconspicuous Area
Before applying the polishing compound to the entire vehicle, test it in a small, inconspicuous area to check for compatibility and ensure it achieves the desired results without causing damage.
Step 6: Apply the Polishing Compound
Using an applicator pad or a dual-action polisher, apply the polishing compound to a small section of the vehicle. Work in small areas to avoid the product from drying out before you can buff it properly.
Step 7: Work in Crosshatch Patterns
To achieve even results, work the polishing compound in crosshatch patterns, applying moderate pressure. Keep the pad flat and parallel to the surface while working to prevent swirl marks.
Step 8: Check Your Progress
Regularly inspect your work to see if the imperfections are diminishing. Avoid over-polishing, as this can remove too much clear coat and damage the paint.
Step 9: Repeat the Process as Needed
If necessary, repeat the polishing process on other sections until you achieve a uniform appearance on the entire vehicle.
E. Tips to avoid common polishing mistakes (overheating paint, uneven results):
Use the Right Polisher: Choose a dual-action polisher rather than a rotary one, as it is less likely to overheat the paint. Rotary polishers require more skill and can cause burns if not used correctly.
Start with a Light Hand: Apply light pressure when using the polisher. Excessive pressure can generate excessive heat and harm the paint.
Keep the Surface Cool: To prevent overheating the paint, work in the shade or during cooler hours of the day. Avoid direct sunlight as it can cause the polish to dry out quickly and lead to uneven results.
Use Proper Pads: Use high-quality foam pads appropriate for the polishing compound you’re using. Avoid using pads that are too aggressive for the paint condition, as they can cause damage.
Work in Sections: Polish the vehicle in small sections, and do not let the compound dry out on the surface. Working in small areas allows you to control the process better.
Follow Instructions: Read and follow the manufacturer’s guidelines for the polishing compound and the polisher to avoid potential mistakes.
Don’t Overdo It: Over-polishing can thin out the clear coat, so be cautious and stop when you achieve the desired results.
Keep the Vehicle Clean: After polishing, wash the vehicle again to remove any residue and inspect your work under good lighting to ensure you’ve achieved the desired showroom shine.
By following these step-by-step instructions and avoiding common polishing mistakes, you can achieve a stunning showroom shine and preserve your vehicle’s exterior for a long time.
Protection and Preservation
A. Applying a high-quality paint sealant or ceramic coating:
To maintain a showroom shine, it’s crucial to apply a premium paint sealant or ceramic coating. These products act as a protective barrier against environmental contaminants, UV rays, and minor scratches, preserving the car’s exterior. They provide a deep gloss and repel water, making cleaning easier.
B. Understanding the benefits of paint protection film (PPF):
PPF, or paint protection film, provides the best defense against rock chips, scratches, and other road debris. Its self-healing properties ensure that minor imperfections vanish over time. PPF is a valuable investment to maintain the showroom shine of your vehicle’s paintwork.
C. Properly maintaining the protective layers for long-lasting shine:
Regular maintenance is crucial for preserving the protective layers. Wash the vehicle with a pH-balanced car shampoo, use microfiber towels, and avoid harsh chemicals that can degrade the coatings.
D. Recommended frequency for reapplication of protective coatings:
The frequency of reapplication depends on the product used and driving conditions. Generally, wax sealants require reapplication every 2-3 months, while ceramic coatings can last up to 2 years.
Advanced Exterior Detailing Techniques
A. Dressing and Protecting Plastic Trim and Rubber Components:
To maintain a showroom shine, it’s essential to care for plastic trim and rubber components. Start by cleaning them with a mild detergent, then apply a quality UV-resistant dressing. This will prevent fading, cracking, and discoloration caused by sun exposure. Use a specialized rubber protectant to keep rubber seals supple and prevent them from drying out. Regular maintenance will not only enhance the overall appearance of your vehicle but also prolong the life of these crucial elements.
B. Polishing and Restoring Chrome Accents:
Chrome accents can add a touch of elegance to any vehicle, but they require proper care to retain their luster. Begin by cleaning the chrome thoroughly to remove dirt and grime. Next, use a chrome-specific polish to buff away any surface imperfections and restore its shine. For more stubborn blemishes, consider using a mild chrome cleaner or metal polish. Remember to apply a protective layer of wax or sealant to shield the chrome from environmental contaminants and maintain its brilliance over time.
C. Headlight Restoration for Improved Visibility and Appearance:
Dull and foggy headlights not only diminish your vehicle’s appearance but also compromise safety due to reduced visibility. To restore them, start by cleaning the headlights with soapy water and a soft cloth. Next, use a headlight restoration kit with sandpaper or polishing compounds to remove oxidation and fine scratches. Finish the process by applying a clear coat sealant or specialized headlight restoration UV protectant. This will not only improve visibility but also provide long-lasting clarity and protection against further damage.
D. Tips for cleaning and maintaining wheels and tires:
When it comes to maintaining a showroom shine, don’t neglect your wheels and tires. To keep them looking their best, use a non-acidic wheel cleaner to remove brake dust and road grime. A soft-bristled brush can help reach intricate areas. Apply a tire cleaner to remove dirt and old tire dressing. To add shine, use a water-based tire dressing and spread it evenly with a foam applicator. Regularly inspect for damage or corrosion, and consider applying a sealant to protect against harmful elements.
E. Dealing with water spots and environmental contaminants:
Water spots can mar your vehicle’s pristine appearance, but tackling them is easy. Wash the affected areas with a pH-balanced car shampoo and water. For stubborn spots, a mixture of vinegar and water can help dissolve mineral deposits. Always dry your car thoroughly after washing to prevent new water spots from forming. To protect against environmental contaminants like tree sap or bird droppings, apply a high-quality car wax or paint sealant regularly. This creates a barrier that makes cleaning such contaminants easier, minimizing potential damage to your car’s finish.
Maintaining the Showroom Shine
A. Establishing a regular maintenance routine:
Consistency is key to preserving your showroom shine. Create a schedule for washing, waxing, and detailing your vehicle, tailored to your climate and driving conditions. Regularly inspect for bird droppings, tree sap, and other contaminants that can harm the paint, and promptly address any issues. Keeping your car covered or parked in shaded areas can also minimize sun damage and maintain the luster.
B. Proper washing techniques to avoid swirl marks:
Use a two-bucket method to wash your car – one with soapy water and the other with clean water for rinsing the mitt. Gently hand wash the vehicle, avoiding circular motions that can cause swirl marks. Opt for microfiber towels and high-quality car wash soap to minimize scratches. Always wash the wheels separately, as they tend to accumulate more dirt and brake dust.
C. Quick detailing and touch-up tips for on-the-go shine:
Keep a detailing spray and a microfiber cloth in your car for quick touch-ups. This way, you can promptly remove light dust and fingerprints to maintain the shine between regular washes. Quick detailing can also be useful for spot-cleaning small stains and maintaining a clean appearance during road trips or daily commutes.
D. Storing the vehicle properly to prevent damage:
If you need to store your car for an extended period, choose a secure, dry, and covered location. Before storing, give the vehicle a thorough wash and apply a protective coat of wax to shield the paint. Use a breathable car cover to prevent moisture buildup and potential damage. Additionally, consider using wheel chocks to relieve tire pressure and prevent flat spots during long-term storage.
Conclusion
In conclusion, achieving a showroom-worthy exterior finish for your vehicle requires dedication and attention to detail. By following expert tips, you can ensure your car maintains its pristine appearance for the long haul. First and foremost, establish a regular cleaning routine using high-quality products and techniques, focusing on handwashing to avoid scratches. Remember to pay special attention to crucial areas like the wheels, windows, and chrome accents.
Regularly waxing your car will not only enhance its shine but also protect the paint from environmental elements. For optimal results, opt for professional detailing services periodically, as they can address stubborn stains and imperfections. By putting these suggestions into practice, you can relish the joy of owning a well-maintained vehicle that turns heads on the road. Embrace the satisfaction that comes with the gleaming reflection of your car and take pride in your efforts to preserve its showroom shine.
FAQ's
Wash your car every two weeks, or more frequently if it’s exposed to harsh conditions.
No, it’s not recommended; use pH-balanced car wash soap to avoid damaging the paint.
Spot treat with a gentle cleaner or seek professional detailing assistance for tough stains.
Yes, handwashing allows for more precision and reduces the risk of scratches.
Yes, waxing adds an extra layer of protection and enhances the shine, even on clear-coated cars.
Use a specialized wheel cleaner and a soft brush to remove brake dust and grime effectively.
It’s best to use an automotive glass cleaner to avoid streaks and damage to tinted windows.
Polish your car once or twice a year to restore the paint’s luster and remove minor imperfections.
Opt for a microfiber cloth, as it’s gentle on the paint and leaves a streak-free finish.
It’s best to avoid direct sunlight when applying wax or polish to prevent uneven results.